Cutting your home’s energy bills doesn’t require hiring an electrician or overhauling your entire electrical system. Smart home energy solutions have become practical, affordable tools that let homeowners monitor consumption in real time and automate the biggest energy drains, heating, cooling, and lighting. Unlike vague “eco-friendly living” advice, these systems deliver measurable savings: homeowners typically cut heating and cooling costs by 10–15% annually. Whether you’re tackling a retrofit or building fresh, smart home energy technology works across any budget and skill level. This guide walks you through what’s actually worth installing, how to set it up yourself, and how to squeeze every penny of efficiency from your investment.
Table of Contents
ToggleKey Takeaways
- Smart home energy solutions deliver measurable savings of 10–15% annually on heating and cooling costs without requiring professional installation or major electrical overhauls.
- Smart thermostats are your highest ROI investment, typically paying for themselves in 18–24 months since HVAC systems consume 40–50% of most home energy budgets.
- Pair smart lighting and occupancy sensors to eliminate wasted energy from lights left on in empty rooms, which accounts for roughly 15% of home energy consumption.
- Behavioral change driven by real-time energy monitoring data delivers bigger savings than gadgets alone—catching phantom loads and identifying inefficient appliances can save thousands.
- Start with a whole-home hub approach that connects your thermostat, lighting, and water heater controls so devices can communicate and execute complex automations like away-mode rules.
- Verify Wi-Fi signal strength (-70 dBm minimum) before purchasing smart devices, and photograph existing thermostat wiring during your audit to avoid compatibility issues.
Understanding Smart Home Energy Technology
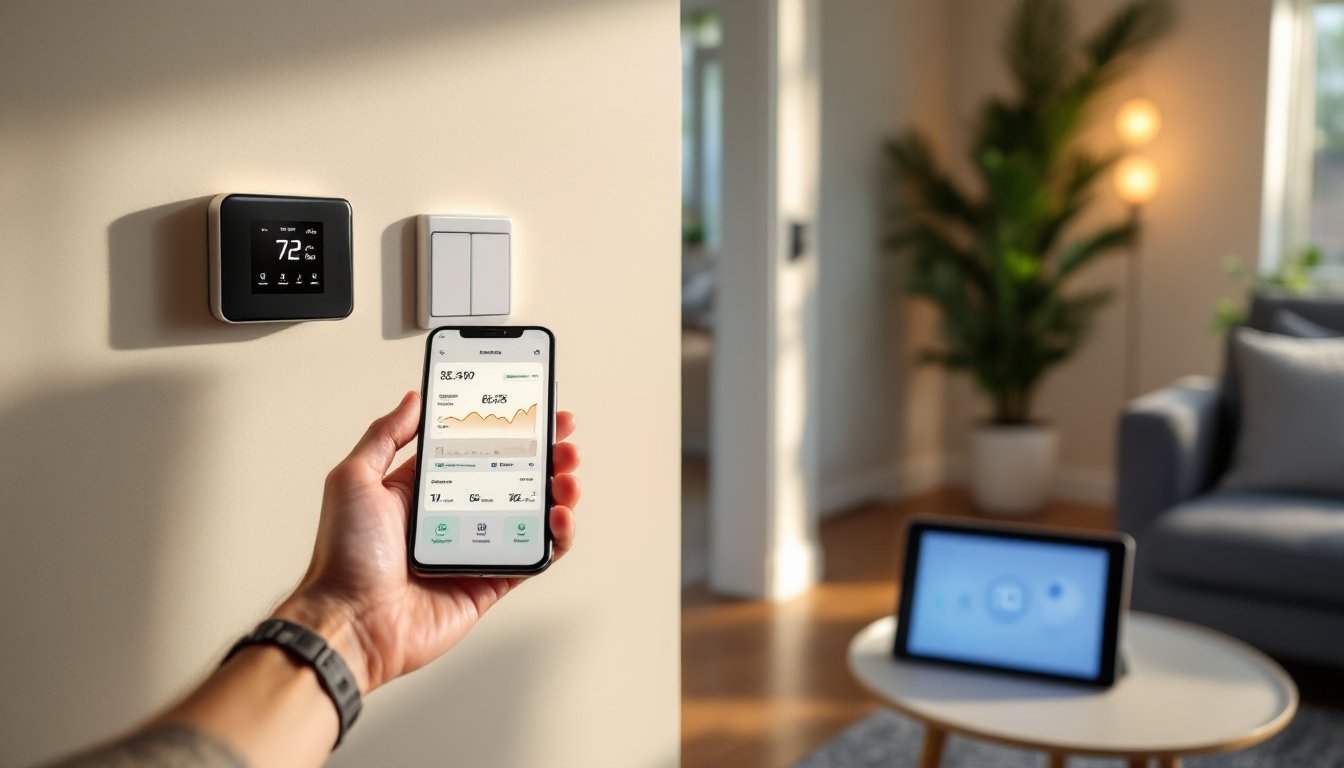
Smart home energy technology centers on one core principle: data drives decisions. Instead of guessing how much power your furnace burns or letting your AC run all night, smart systems measure actual usage and let you adjust in real time, either manually through an app or automatically through programmed rules.
Most smart energy setups rely on a hub or controller that communicates with individual devices via Wi-Fi or wireless protocols like Zigbee or Z-Wave. The hub talks to smart thermostats, plugs, switches, and energy monitors, collecting data and pushing commands. Think of it like a nervous system for your home: sensors send usage information upstairs to a brain, which decides what to do next.
What makes this different from old programmable thermostats? Smarts. A traditional 7-day program runs the same schedule every Monday, rain or shine. A smart thermostat learns your habits, checks weather forecasts, detects when you’re away via smartphone location, and adjusts heating or cooling automatically. Over time, it actually gets better at predicting what you want.
The payoff shows up in two ways. First, lower utility bills, anywhere from $100 to $300+ per year depending on your climate and current habits. Second, comfort: you’re not waking up to a cold house because the furnace shut off at midnight, and you’re not paying to cool an empty house on Saturday.
Essential Smart Devices For Energy Efficiency
Smart Thermostats and HVAC Controls
Your heating and cooling system is likely your single biggest energy consumer, often 40–50% of the annual bill. A smart thermostat pays for itself faster than any other smart device.
What to look for: Choose a model compatible with your furnace (most work with gas, heat pump, and electric systems, but dual-fuel setups occasionally hit compatibility snags). Popular options like Nest, Ecobee, and Honeywell Home all offer learning capabilities and smartphone control. Check your wiring before buying: older homes sometimes have only two or three wires running to the thermostat, and some smart models require a C-wire (common wire) for continuous power. If you don’t have one, you can run new wire, doable as a DIY project if you’re comfortable fishing wire through walls, or buy a model that works without it.
Installation: Turn off power at the breaker before disconnecting the old thermostat. Take a photo of your existing wiring so you remember which wire went where. Most modern thermostats mount to a standard wall plate: you’ll need a screwdriver and possibly a drill to secure the backplate. The whole job usually takes 30 minutes.
Beyond the thermostat, smart vents let you close off unused rooms and direct heated or cooled air where you actually need it. Pair them with occupancy sensors, and your system stops conditioning the guest bedroom when nobody’s in there. This is especially powerful in multi-story homes where upstairs and downstairs run different temperatures.
Smart Lighting Systems
Lighting consumes roughly 15% of most home energy budgets. Smart bulbs and switches don’t cost much more than regular ones, and they eliminate the biggest lighting waste: lights left on in empty rooms.
Bulbs vs. switches: Smart bulbs (like Philips Hue or LIFX) cost $10–20 per bulb and let you dim, change color, and schedule individually, useful if you’re retrofitting specific lamps or rooms. Smart switches (cost $20–35 each) control all bulbs on that circuit at once and work with any bulb, so you avoid obsolescence when bulb tech changes. For whole-house efficiency, switches usually make more sense.
Occupancy sensors and scheduling: Pair lights with motion sensors so hallways, bathrooms, or garages shut off automatically after 5 or 10 minutes of no activity. Scheduling is straightforward, tell your system “living room lights off at 11 PM,” and it just happens. During daylight hours, some smart switches sense natural light and dim accordingly, trimming consumption further.
Relevant research on best smart thermostats shows that combined HVAC and lighting controls unlock the largest energy savings, especially in homes running multiple zones or high-occupancy schedules.
Installation and Setup for DIY Homeowners
Most smart energy devices are designed for DIY installation, but prep work separates quick wins from frustration.
Before you buy: Audit your home’s connectivity. Walk to the farthest room and check Wi-Fi signal strength on your phone. Smart devices typically need at least a -70 dBm signal (your phone will show bars). If signal drops below that, you’ll either need a mesh Wi-Fi system or a hub that uses Zigbee/Z-Wave instead of Wi-Fi. Mesh routers run $100–200 but future-proof your smart home.
Next, photograph your existing thermostat wiring and take inventory: How many thermostats do you have? Are your lights hardwired or standard fixtures? Do you have a basement, attic, or crawlspace where you can run new wire easily? These details determine what’s a simple plug-and-play job versus something requiring fishing wire or running conduit.
Step-by-step thermostat swap:
- Turn off power at the breaker and verify it’s off by tapping the thermostat, no spark, no power.
- Remove the cover and photograph the terminal connections (label them if you want extra safety).
- Loosen screws and disconnect each wire, keeping them separated so they don’t touch.
- If installing a new backplate, use a drywall anchor or drill pilot holes into a stud for solid mounting.
- Connect wires to the new thermostat following its manual exactly, wrong connections cause no heat/cool or damage.
- Restore power and test both heating and cooling modes.
Download the thermostat’s app, create your account, and follow the setup wizard. Most models auto-detect your heating type and ask you to run a test cycle so the system learns how long it takes to reach temperature.
Smart switch installation: Turn off the breaker and verify power is off using a non-contact voltage tester (a $10 tool that beeps near live wires, essential for any electrical DIY work). Remove the old switch, note wire positions, and connect hot, neutral, and ground to the new switch’s terminals. Secure the switch and test immediately. If you’re uncomfortable with electrical work, call a licensed electrician: switches are one-hour service calls and cost $75–150 including labor.
Multiple users of smart home tech for beginners consistently report that hub selection is the biggest setup bottleneck, pick a central location that reaches all devices via wireless signal.
Maximizing Savings With Smart Energy Monitoring
Raw data means nothing without action. Smart energy monitors plug into your breaker panel and report real-time consumption by circuit, showing you exactly where your power goes.
Energy monitors: Devices like Sense or Neurio analyze current draw, learn appliance signatures (your water heater’s pattern looks different from your air conditioner’s), and alert you to waste. Some cost $200–300 upfront, but they’ve saved users thousands by catching phantom loads, devices that drain 5–10% of your bill even when “off”, and identifying aging appliances that run inefficiently.
Fewer people realize that behavioral change drives the biggest savings, not gadgets. When a monitor shows your dryer running at 2 AM (phantom cycle?), or reveals that your electric water heater costs $40 per month, you act. You may lower the setpoint by 2°F, adjust schedules to avoid peak hours, or finally replace that 15-year-old fridge.
Automation rules multiply savings: Link your smart thermostat to occupancy sensors so the system switches to away-mode heating (55°F in winter, 78°F in summer) when everyone leaves. Schedule your water heater to run only during off-peak hours. Set smart plugs to cut power to entertainment systems at night. Pair a smart hub with smart home tech tips to discover pre-built automation recipes, they save guesswork.
Climate matters enormously. A homeowner in Phoenix sees faster ROI from smart cooling than someone in San Diego where AC runs fewer hours. Gas costs vary by region: smart zoning pays off more in climates with long heating seasons. Track your savings monthly, most apps show usage trends, and adjust rules seasonally. Winter rules differ from summer: off-season, simplify automation to avoid errors.
Consider a whole-home approach: bundle thermostat, lighting, and water heater controls under one hub rather than installing random devices. This lets you create complex automations, for example, “when last person leaves, set thermostat to away mode AND turn off all lights AND lower water heater to 120°F.” Isolated devices can’t talk to each other and waste potential.
Conclusion
Smart home energy solutions aren’t futuristic luxuries, they’re practical investments with real payoffs. Start small: a smart thermostat or a few smart switches typically pay for themselves in 18–24 months, then deliver free savings year after year. Install correctly, set automation rules based on your actual habits, and track results monthly. Over time, a fully connected home system compounds savings and comfort. The 2026 market is mature enough that no single “best” product exists, focus on compatibility, Wi-Fi reliability, and devices you’ll actually use. Begin with your biggest energy consumer (usually HVAC), add lighting control, then expand to water heating and appliance monitoring as your comfort and knowledge grow.