Smart home displays have become the central hub for modern connected living, a screen that controls your lights, shows your calendar, plays music, and answers questions all at once. But with so many options on the market, from compact countertop models to full-wall control panels, picking the right one feels overwhelming. This guide cuts through the noise and walks you through what these devices actually do, the main types available, the features that matter most, and how to install them properly in your space. Whether you’re a beginner or already have a few smart devices running, you’ll find practical advice to help you choose and set up the perfect smart home display for your needs.
Table of Contents
ToggleKey Takeaways
- A smart home display functions as a central command hub that controls lights, thermostats, locks, and cameras through voice commands or touch, eliminating the need to juggle multiple apps.
- Portable countertop models (5–10 inches, $100–$300) suit renters and small spaces, while wall-mounted panels (7–15 inches, $300–$1,500+) offer a polished, integrated look for permanent installations.
- Screen size matters significantly—aim for at least 10 inches for wall-mounted displays to ensure readability from a distance, and prioritize 1280 × 800 resolution or higher for sharp text.
- Ecosystem compatibility is critical: Echo Shows work best with Amazon devices, Nest Hubs with Google devices, and iPads with Apple HomeKit, so verify your existing devices before purchasing.
- Wall-mounted smart home display installations require proper electrical planning, including a nearby 120V outlet and professional wiring if needed, plus secure anchoring to studs or drywall with a level finish.
- Smart home hub functionality that controls Zigbee or Thread devices directly ensures faster response times and resilience if your internet connection drops temporarily.
What Is a Smart Home Display?
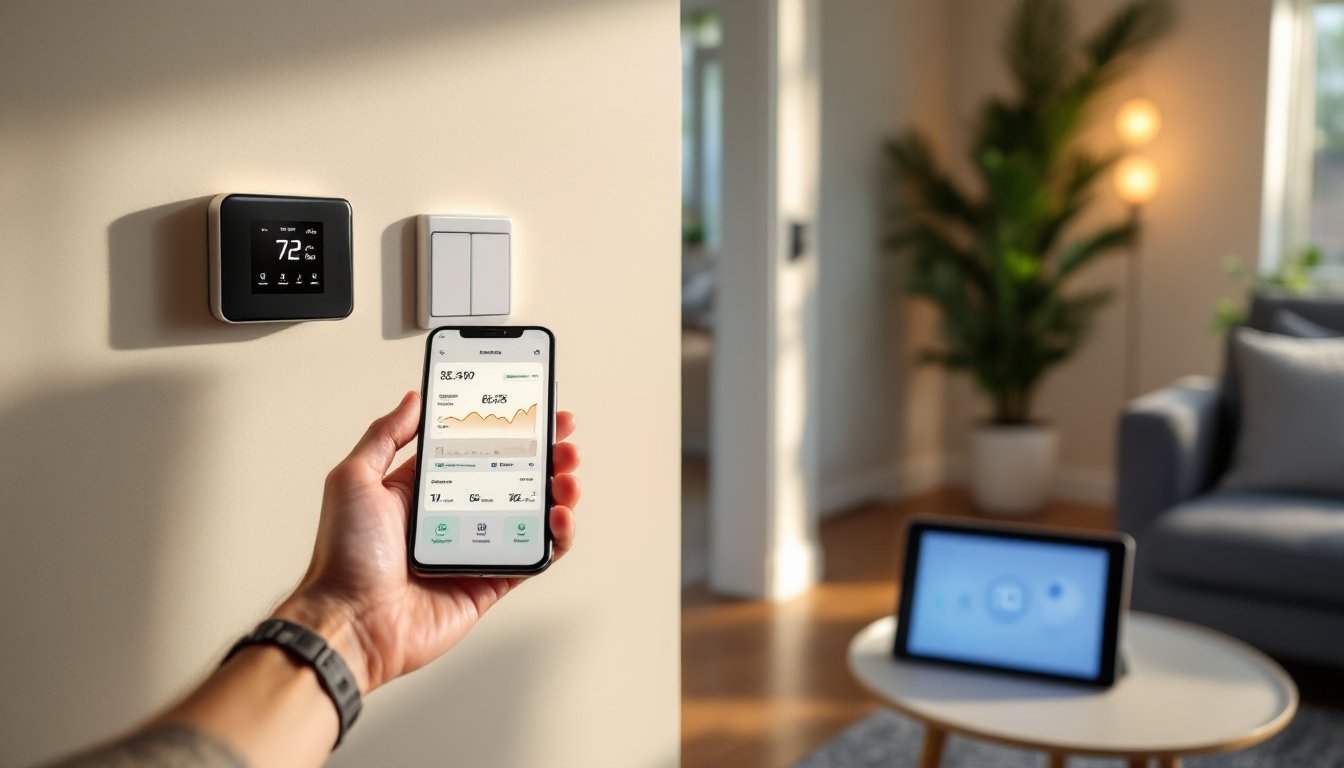
A smart home display is an internet-connected screen that functions as both a speaker and a control hub. Unlike a regular tablet or monitor, it’s built to respond to voice commands, show information at a glance, and manage your connected devices without needing to open an app on your phone. Think of it as the command center for your home, it displays weather, time, and calendar events while simultaneously controlling smart lights, thermostats, door locks, and cameras.
These devices run on voice assistants like Amazon Alexa, Google Assistant, or Apple Siri, so you can ask them questions and give them instructions verbally. They also let you tap the screen to adjust settings manually. Most come with built-in speakers powerful enough for everyday listening, and many include cameras for video calls or security monitoring. The real appeal is convenience: instead of juggling five apps to turn off lights, lock the door, and check the thermostat, you ask the display once and it handles everything.
Types of Smart Home Displays
Voice-Activated Smart Speakers With Screens
These are the most common and affordable smart home displays. They sit on nightstands, kitchen counters, or shelves, usually ranging from 5 to 10 inches diagonally. Models like the Amazon Echo Show, Google Nest Hub, and Apple iPad mini all fall into this category. They’re portable, so you can move them around as needed, and they’re relatively inexpensive (typically $100 to $300).
These displays excel at showing real-time information, weather, news briefings, calendar alerts, while doubling as smart speakers. They work well for renters and homeowners who don’t want a permanent installation. The downside is they take up counter or table space, and their range is limited by where you place them. Some include cameras for video calls, but that’s worth considering from a privacy standpoint.
Wall-Mounted Control Panels
If you want a more integrated, permanent solution, wall-mounted panels are the way to go. These install flush into drywall (similar to a light switch or thermostat) and are typically 7 to 15 inches in size. Examples include the Amazon Echo Show 15 wall-mounted version or dedicated smart home control panels from manufacturers like Control4 or Lutron Caseta.
Wall panels give your home a polished, integrated look and are especially useful in high-traffic areas like entryways, kitchens, or home offices. They’re always there when you need them and don’t clutter surfaces. Installation does require routing power to the wall, and in some cases, low-voltage wiring for advanced systems, so you might need help from an electrician. The upfront cost is higher (usually $300–$1,500+), but the professional appearance and seamless control justify it for many homeowners. Smart home tech trends 2026 promise significant changes that will likely push more homeowners toward integrated panels like these.
Key Features to Look For
Screen size and resolution matter more than you might think. A 7-inch display is fine for a nightstand but hard to read from across a kitchen. A 10-inch screen offers a better balance between usability and table-space footprint. Wall-mounted models should be at least 10 inches to be readable from a standing distance. Look for at least 1280 × 800 resolution (or higher) so text stays sharp.
Audio quality varies wildly. If you plan to use the display as a speaker for music or podcasts, test the sound first. Budget models often sound thin and tinny: mid-range and premium options have deeper bass and clearer mids. Brands sometimes publish wattage and decibel ratings, a display with at least 10 watts of power and a dedicated bass driver will feel more satisfying.
Camera features are essential if you want video calling or security monitoring. Check whether the camera has a physical shutter or software privacy controls. Some displays let you disable the camera entirely through settings. If privacy matters to you, this is non-negotiable. The best smart home tech available today offers granular privacy controls worth investigating before purchase.
Compatibility with your existing ecosystem is critical. If you have Amazon devices, an Echo Show makes sense. Google Nest Hubs work best with Google devices. Apple doesn’t make a traditional smart display, but iPads integrate deeply with HomeKit. Check which devices you already own and which ecosystem they use before buying.
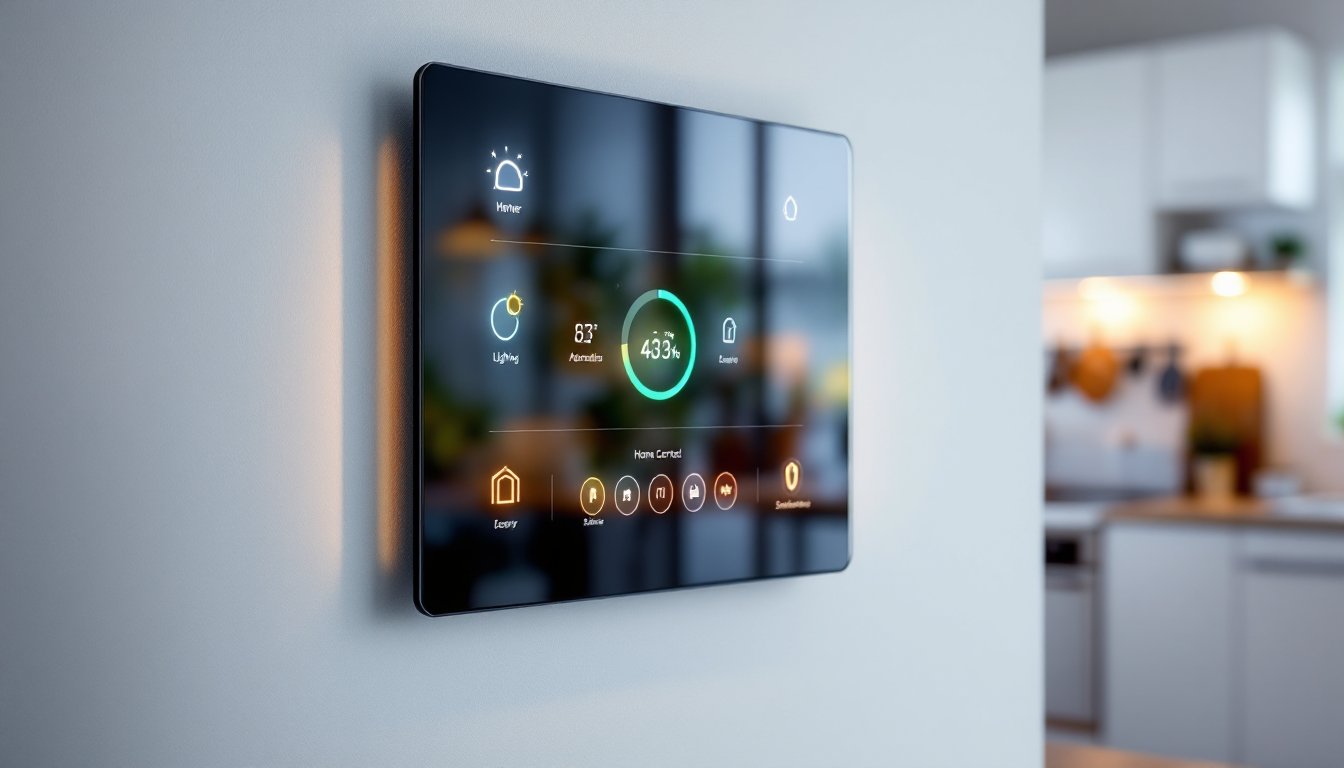
Smart home hub functionality allows some displays to control Zigbee or Thread devices without relying on Wi-Fi for every command. This means your lights and locks respond faster and keep working even if your internet hiccups. Not all displays have this, it’s usually a premium feature worth paying extra for if you have many smart devices.
Touchscreen responsiveness and gesture support can feel minor until you’re stabbing a sluggish screen repeatedly. Better models recognize swipes, double-taps, and voice commands simultaneously without lag. Read reviews specifically about responsiveness before committing.
How to Integrate Smart Displays Into Your Home
For countertop or shelf models, setup is straightforward. Plug it in, connect to your Wi-Fi, and follow the on-screen prompts to sign in with your Amazon, Google, or Apple account. The display will automatically discover and control other devices on your network. Place it where it’s visible but not in direct sunlight (glare washes out the screen), and keep it away from water sources like sinks. Consider using a small stand or shelf bracket if your surface is wobbly, displays shouldn’t teeter on a precarious edge.
For wall-mounted installations, you’ll need to plan ahead. First, decide on placement, ideally near an entryway, in the kitchen, or in a home office where you’ll actually use it. Check for wall studs with a stud finder so you can anchor securely. Unlike a light switch, most smart displays require a standard 120V outlet nearby. If there isn’t one, you’ll need to run new electrical wiring, a job for a licensed electrician in most jurisdictions. Some building codes require new circuits for permanent installations, so check local requirements before starting.
Once power is in place, mount the display securely. Use heavy-duty wall anchors (like toggle bolts or heavy-duty drywall anchors) if you’re hitting drywall instead of studs. The display usually comes with a mounting bracket, follow the manufacturer’s instructions exactly. Double-check that the screen is level using a spirit level before tightening everything down. A crooked display looks sloppy and makes you question whether it’s secure.
For wall-mounted models, smart home tech tips emphasize the importance of routing power cleanly. If running a new outlet, use in-wall rated cable and a proper junction box. Exposed cables look unprofessional and violate building codes in most areas. If this sounds intimidating, hire an electrician, $150–$300 for an outlet installation is well worth the professional result.
Once mounted and powered on, connect it to your Wi-Fi, add your smart home devices, and set up automations. Most ecosystems let you create routines, for example, saying “Good night” locks the door, dims lights, and arms the security system. This integration is what turns a display into an actual hub rather than just another screen. Smart home tech for beginners guides often stress that proper installation, especially for wall-mounted models, pays dividends in daily usability and aesthetic appeal.
Conclusion
Smart home displays are practical investments that genuinely improve daily convenience when chosen and installed thoughtfully. Start by deciding between a portable speaker-with-screen or a permanent wall-mounted panel based on your lifestyle and budget. Prioritize screen size, audio quality, and ecosystem compatibility. If you’re mounting to a wall, don’t cut corners on installation, proper power routing and secure anchoring make all the difference. With the right setup, your display becomes an invisible assistant that handles tasks without fuss or fanfare.